In the world of music, quality production is essential. While a strong brand, stage presence, and social media engagement are important, they all take a backseat to the music itself. But how do you achieve high-quality music production without breaking the bank?
As an independent artist and producer, I have spent years refining my home studio setup to balance affordability with professional results. In this guide, I’ll walk you through the essential tools you need to produce high-quality music on a budget.
Choosing Your DAW (Digital Audio Workstation)
A DAW is the backbone of music production. It allows you to record, edit, mix, and master your tracks. Here are some popular DAWs to consider:
- Studio One 6 (PreSonus) – My personal choice due to its smooth workflow and intuitive layout
- Ableton Live – Great for electronic music and live performances
- Logic Pro – A favorite among Mac users.
- Pro Tools – The industry standard for mixing and recording.
- FL Studio – Popular for hip-hop, trap, and electronic music.
- GarageBand – A free, beginner-friendly option for Mac users.
Investing in a DAW that suits your workflow is crucial. While free options exist, spending a bit on a DAW with professional features will set you up for success in the long run.
Selecting the Right Microphone
The quality of your microphone plays a significant role in capturing the warmth, clarity, and depth of your sound. There are three main types of microphones to consider:
- Dynamic Microphones – Durable and great for live performances (e.g., Shure SM58, Shure SM7B for podcasting and broadcasting).
- Condenser Microphones – More sensitive and best for vocals and instruments (e.g., Audio-Technica AT4040, Neumann TLM103, Bluebird SL).
- Ribbon Microphones – Capture warm, vintage sounds (e.g., Royer R121).
- Shotgun Microphones – Used for film and voiceover (e.g., Sennheiser MKH416).
Avoid USB microphones if you’re serious about your production—they’re convenient but lack the depth and quality of an XLR microphone, which provides a cleaner, more accurate sound.
The Importance of an Audio Interface
Since we’re using XLR microphones, an audio interface is essential. It converts analog sound into a digital format for your DAW. Here are some budget and professional options:
- Focusrite Scarlett 2i2 – A great entry-level interface with a single mic input.
- PreSonus Studio 24C – My personal choice, offering two mic inputs and excellent sound quality.
- Universal Audio Apollo Twin – A high-end option with premium sound processing.
Monitoring Your Mix: Headphones vs. Studio Monitors
Your ability to accurately hear your mix is just as crucial as the equipment you use. I primarily mix with headphones, but here are some good monitoring options:
- Headphones:
- OneOdio Pro 10 (Affordable, around $30)
- Audio-Technica ATH-M50X (Industry standard with balanced sound)
- Beyerdynamic DT 990 Pro (High-end option)
- Studio Monitors: (If you have an isolated recording space)
- KRK Rokit 5 (Budget-friendly)
- Yamaha HS5 (Great accuracy)
- PreSonus Eris series (Reliable quality)
Pro Tip: Always test your mix on different speaker types, including car speakers, phone speakers, and studio monitors, to ensure it sounds good across all playback systems.
Essential Software: EQ, Compression, and Effects
After recording, it’s time to shape and enhance your sound with processing tools. Here are the key types of plugins you’ll need:
- EQ (Equalization): Adjusts frequency balance. Examples:
- FabFilter Pro-Q3 (Highly precise and user-friendly)
- Stock EQ in Studio One (Effective and free!)
- Compression: Evens out volume inconsistencies. Examples:
- Waves CLA-76 (Classic compressor)
- Optical Tube Compressor (My favorite in Studio One)
- Reverb & Delay: Adds depth and space to your mix.
- Mastering Plugin: I personally use Brainworx Masterdesk from Plugin Alliance for adding polish and width to my final mix.
MIDI Controllers and Virtual Instruments
A MIDI controller isn’t essential, but it greatly speeds up the music-making process. I use:
- Alesis V61 – A full-sized keyboard MIDI controller.
- PreSonus Atom – My first MIDI controller.
- Keystation Mini 32 MKIII – A compact option for travel.
For virtual instruments, I primarily use stock sounds in Studio One, EZDrummer 3 for drums, and some instruments from Spitfire Audio (though they no longer offer their free pack).
Final Thoughts: Maximizing Your Budget Studio
You don’t need the most expensive gear to produce professional-quality music. Instead, focus on learning how to use what you have effectively.
To summarize, here’s what you need for a solid home studio:
DAW – Microphone – Audio Interface – Headphones – Stock Plugins – MIDI Controller (optional)
The best producers aren’t the ones with the most expensive equipment—they’re the ones who know how to use what they have. With the right tools and knowledge, you can create professional-sounding music even on a tight budget.
If you found this guide helpful, share it with fellow music creators, and feel free to reach out with questions! I’d love to hear from you 🙂
Thanks for reading, and keep dreaming big!
God Bless,
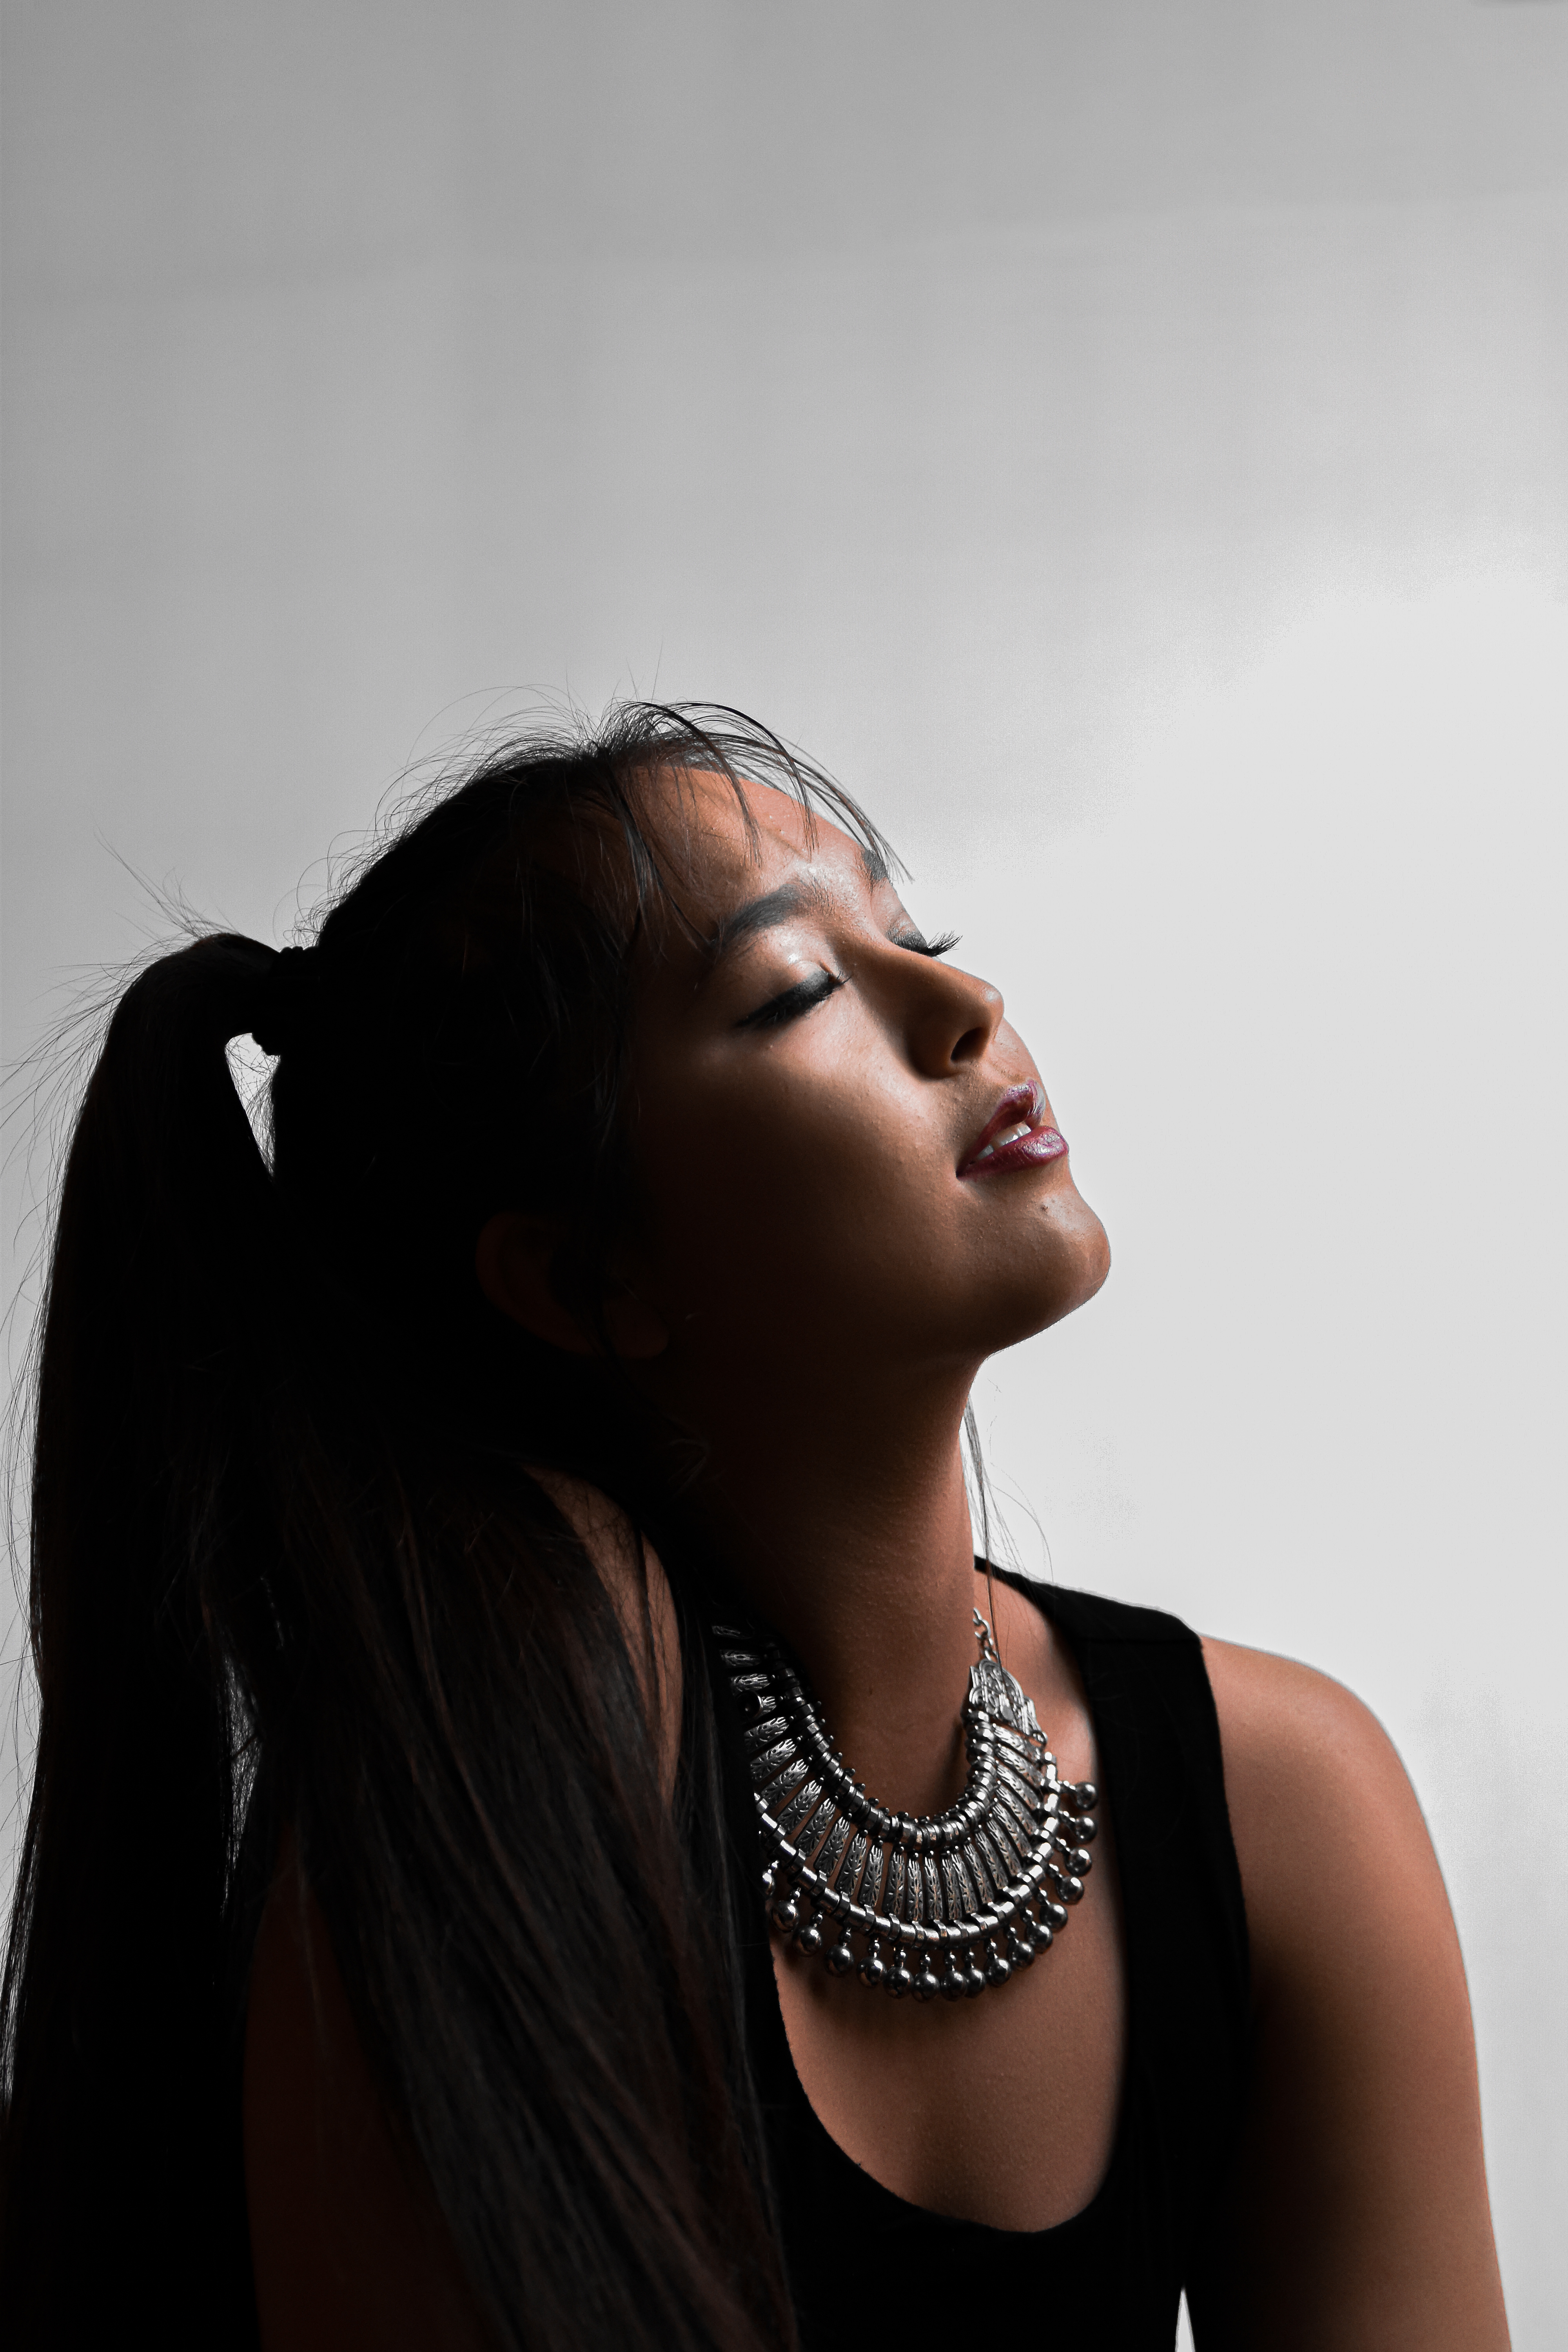
Adventure sounds like this
World Indie Pop
TZAYLA
Adventure sounds like THIS


Leave a comment